Trezór.io/Start® | ®Starting Up Your Device® | Trezor®
Getting started with cryptocurrency can be exciting—but also a little overwhelming. One of the most important steps in your journey is keeping your digital assets safe. That’s why millions of users trust Trezor®, the world’s first hardware wallet. With Trezór.io/Start®, the official Trezor setup portal, you can securely initialize your device and begin managing your crypto with complete peace of mind.
Let’s explore how to set up your device from start to finish the right way—securely, privately, and confidently.
🔐 What Is Trezor®?
Trezor® is a hardware wallet developed by SatoshiLabs that stores your private keys offline, protecting your crypto from online threats like hacking, phishing, and malware. Unlike software wallets or exchanges, where your assets may be exposed, Trezor ensures you are in full control of your coins at all times.
When you pair your device with Trezor Suite®, the official management interface, you unlock a powerful way to send, receive, store, and manage digital currencies—safely and conveniently.
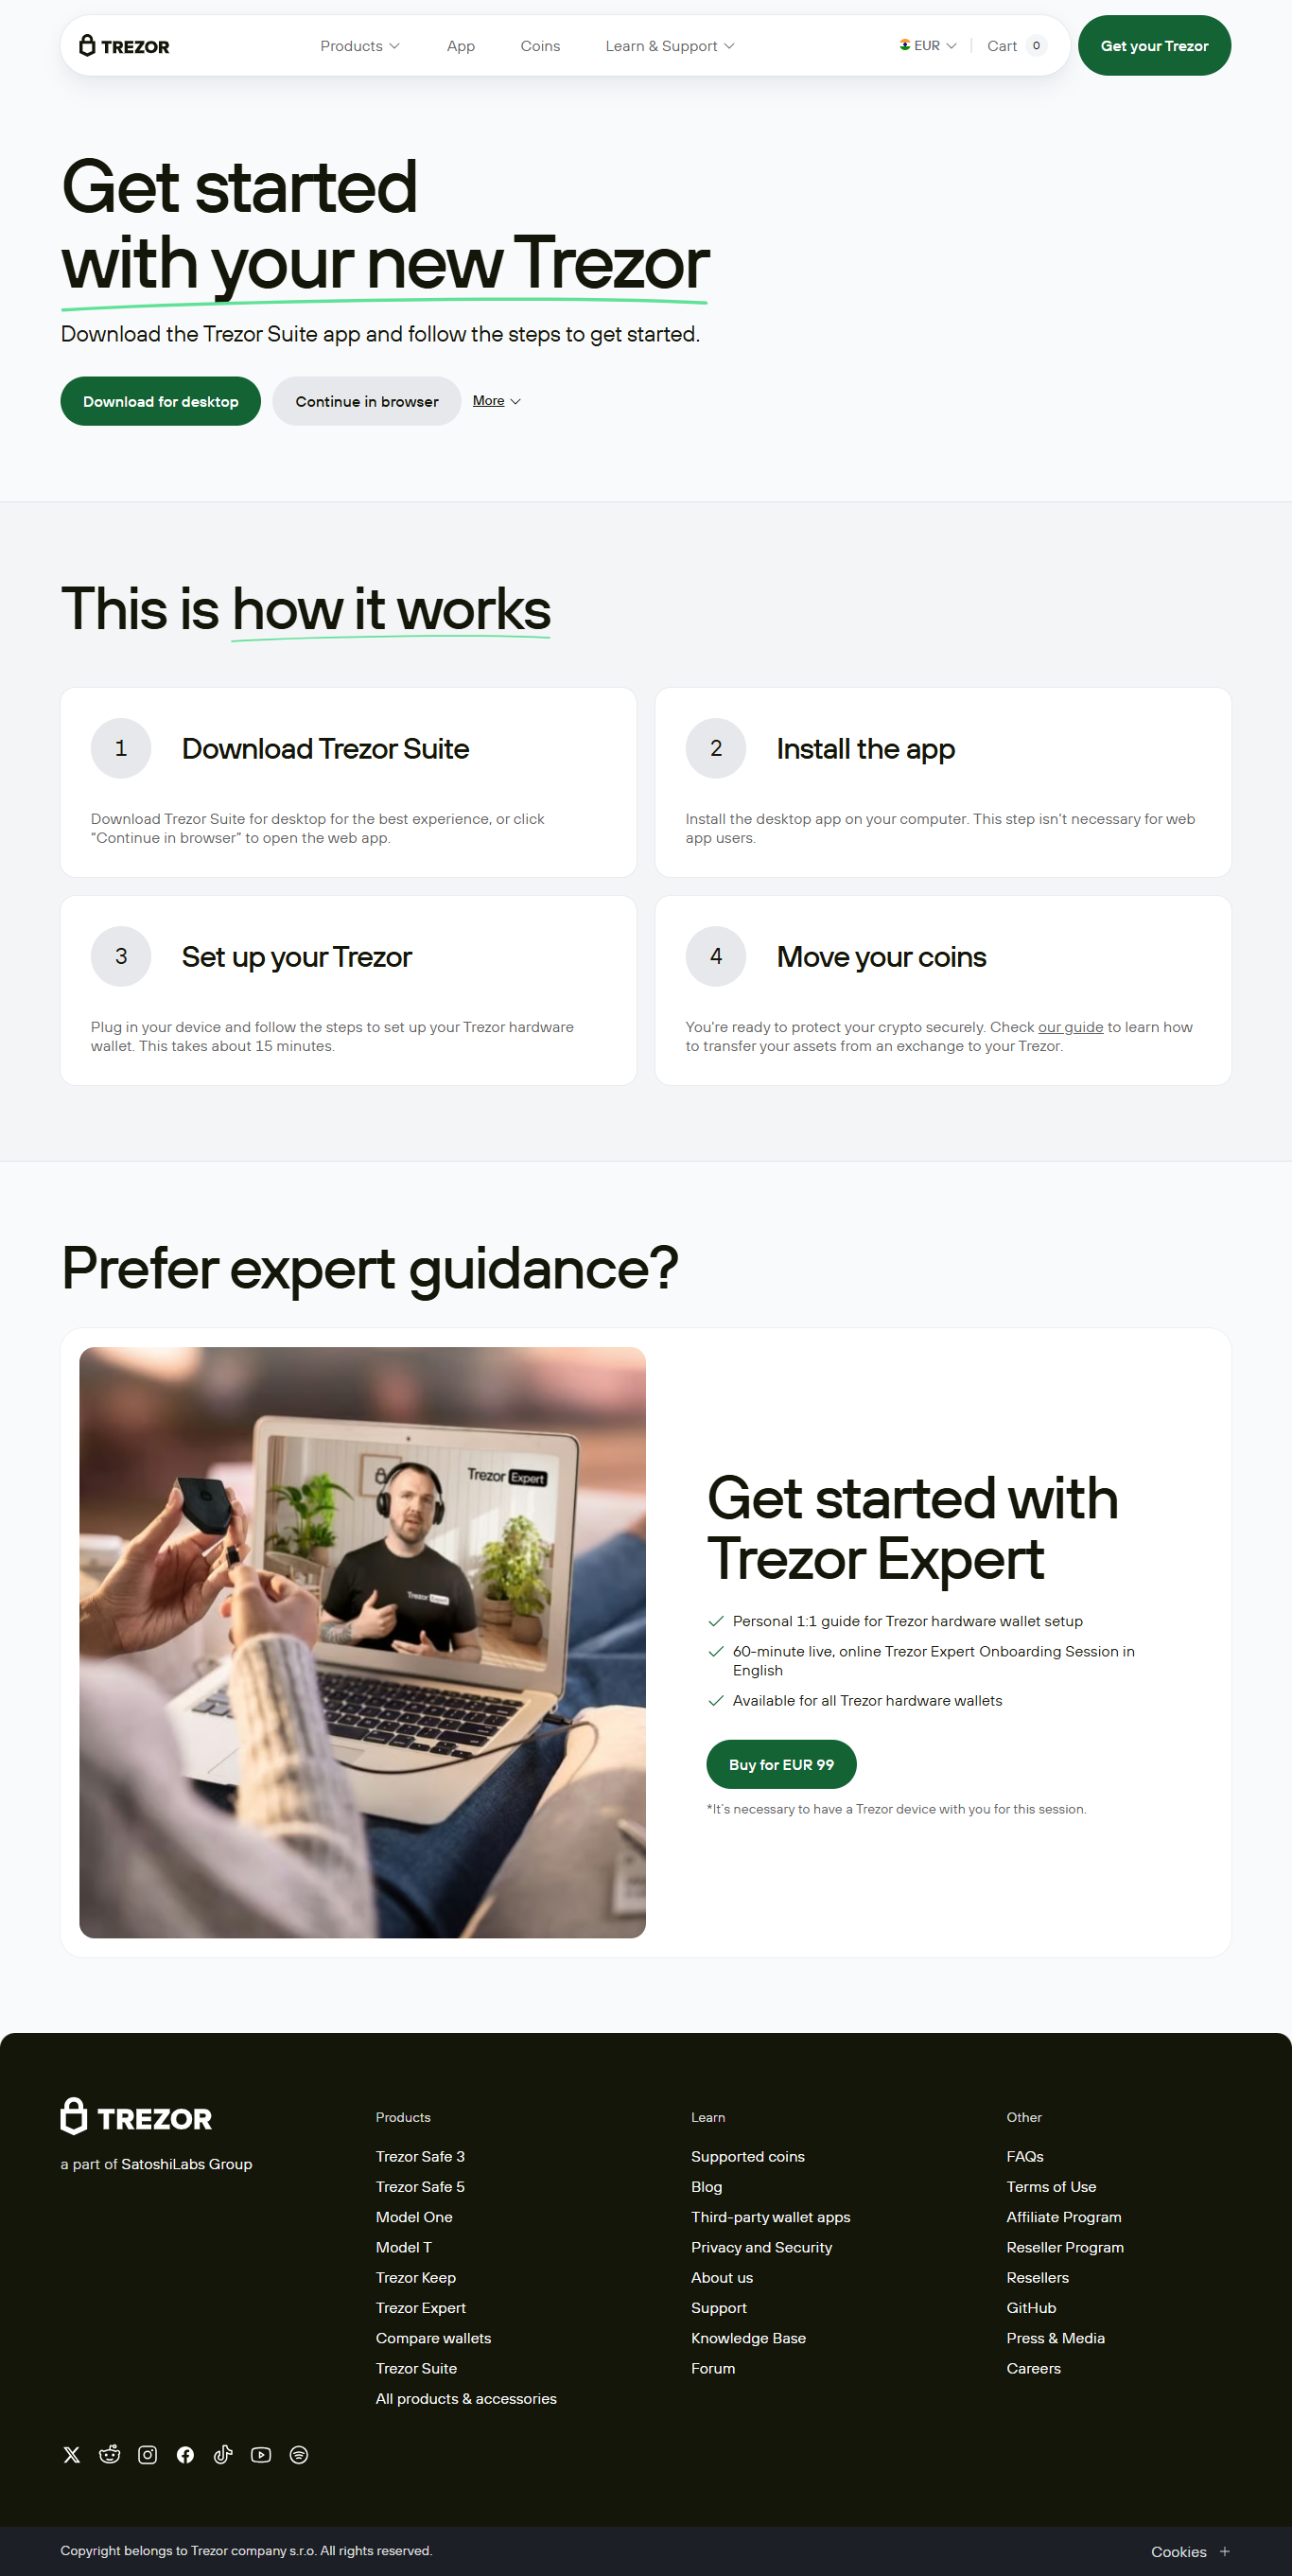
🌐 Step 1: Visit the Official Start Page
Go to Trezor.io/Start — this is the only authorized source for safely initializing your Trezor device and downloading the Trezor Suite app. Avoid using third-party sites, browser extensions, or mobile app stores, as counterfeit apps are a known security risk.
📦 Step 2: What’s in the Box?
When you unbox your new Trezor®, you should find the following:
- Trezor device (Model One or Model T)
- USB cable
- Recovery seed cards
- Instruction manual
- Trezor stickers
📌 Check the holographic security seal to ensure your device hasn’t been tampered with.
🔌 Step 3: Connect and Install Trezor Suite®
Use the USB cable to connect your Trezor device to your computer. On the Trezor.io/Start® page, download the Trezor Suite® desktop app compatible with your operating system (Windows, macOS, or Linux). You can also access the web version directly from your browser, although the desktop app is more secure and private.
Once downloaded, launch Trezor Suite and follow the prompts.
🧠 Step 4: Create a New Wallet
After connecting your device, you’ll have two options:
- Create new wallet
- Recover existing wallet
Choose Create new wallet if this is your first time using Trezor. The device will generate a 24-word recovery seed—a unique backup phrase used to restore access to your wallet in case your device is lost or damaged.
✍️ Important: Write the recovery seed on the paper card provided. Never store it digitally or share it online. Whoever holds this phrase can access your funds.
🔒 Step 5: Set a PIN Code & Passphrase (Optional)
To protect your wallet, you’ll be prompted to set a PIN code. This is required every time the device is plugged in. For extra protection, you can enable an optional passphrase, which adds another layer of encryption and helps you create hidden wallets.
This makes your wallet highly secure—even if someone gains access to your physical device.
💼 Step 6: Start Managing Your Crypto
Once your wallet is set up, Trezor Suite gives you full control over your crypto:
- ✅ Send and receive coins like Bitcoin (BTC), Ethereum (ETH), Litecoin (LTC), Cardano (ADA), and more.
- ✅ Manage ERC-20 tokens and custom tokens on the Ethereum network.
- ✅ Swap or buy coins through built-in integrations.
- ✅ Track portfolio performance with real-time data.
- ✅ Use privacy features like Tor support and coin control.
- ✅ Create multiple accounts for different wallets or uses.
All transactions must be confirmed physically on your device, ensuring no unauthorized actions can be performed remotely.
📢 Pro Tips for Beginners
- Store your recovery seed offline in a safe, fireproof location.
- Never enter your seed online or into any non-Trezor device.
- Regularly check for firmware updates via Trezor Suite.
- Use the desktop app for added security and privacy.
- Enable the hidden wallet feature with a passphrase for more privacy.
🆘 Support & Learning
Need help during setup? Visit the official Trezor Support Center for:
- Setup tutorials
- FAQ articles
- Troubleshooting help
- Contact with support specialists
Trezor also offers a strong community and blog filled with educational content for all levels.
✅ Conclusion
Using Trezór.io/Start® is the first—and most important—step to taking control of your financial future. By setting up your Trezor hardware wallet correctly, you ensure that your digital assets remain secure, even in a world full of cyber threats.
Start your crypto journey the right way: private, safe, and in full control.
Secure it. Own it. Trezor® it.